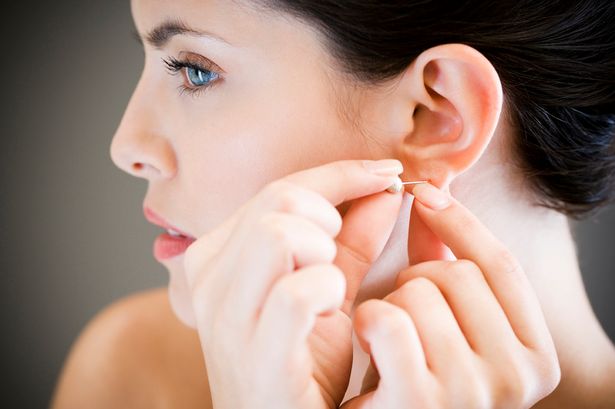
Removing earring backs can sometimes be a difficult task as they get stuck badly. It might be because of the prolonged time you wore them, or if they are a starter studs when you get your first piercing done. At times the backs are put wrongly and problems arise while taking them off.
In these instances, the removal of earrings backs (safety back, screw back, etc) can take some extra effort. If your earring back stuck? Don’t worry we’ve got you covered, scroll down to learn how to take off earrings with screw back, safety back and other styles.
Editor’s Recommendation: “Best Earrings for Sensitive Ears“
We’ve got the various types of earring backs out there and discuss instructions for taking them off easily without pain.
How to Remove and Take Out Earrings: Tips for 5 Kinds of Earrings Back
1. How to Remove Starter Earrings/Safety Back/Flat Back
- Use your index finger and thumb and hold the post of the earring and pull it back gently.
- If this doesn’t work well, then take some hydrogen peroxide or rubbing alcohol on a cotton swab and rub down your earlobe while your studs are on.
- Wait for a minute for the solution to dry and make the skin moist around the earrings.
- Hold your earrings and gently coil them in a circular motion to remove the dirt, or stuck dead cells which might be the reason for your stud to get stuck. This might help to loosen the earrings flat back.
- Now grab the flat back and try to pull it out slowly and firmly.
(Safety back earrings are most popular among children and babies, due to their easy rounded back system, thus also known as starter earrings.)
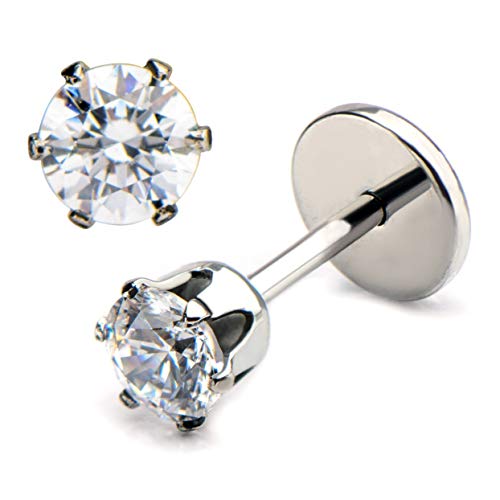
2. How to Take Out Screw Back Earrings
- Hold the earring from one hand and grew the screw with your index finger and thumb.
- Gently unscrew the back by rotating it to the left (anti-clockwise).
- Unscrew until the back slides till the end of the earring and then pull back at the end.
- Video Tutorial: Steps to Unscrew Screw-Back Earrings Without Pain.

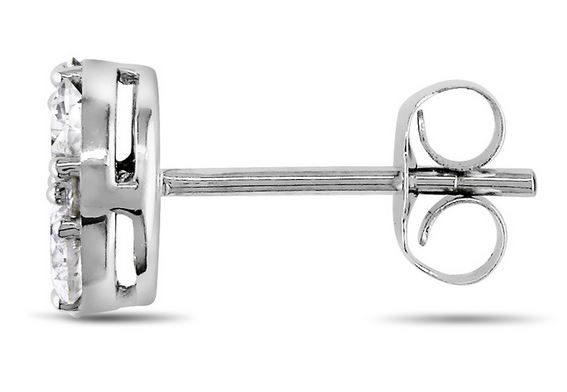
3. How to Remove Earrings with Butterfly Backs /Friction Back Earrings
- Hold the earring stud from the front with one hand and grasp the back with your index finger and thumb.
- Gently twist the butterfly back and loosen it before you pull it out firmly out off the post.
- Video Tutorial: Instructions to remove earrings with butterfly back.
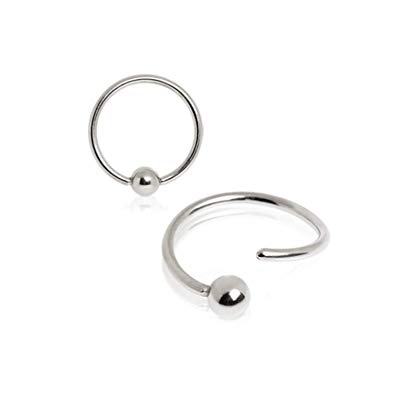
4. How to Take out Captive Bead Rings(CBR) or Hoop Earrings with Balls
- Use a ring opening pliers and place it at the center of the captive bead ring and try to open it. This will create a gap between the two ends of the ring.
- Once you have a large enough space in between the rings try to slowly turn the ring.
- Once the ring reaches the end, gently pull it out from the ear and remove the CBR.
Note of Caution:
- Try to seek professional help, in case you find it difficult to take out the earrings on your own (horseshoe or barbell earrings). Don’t try to take off if the earring is very stubborn.
- You may use needle-nosed pliers instead of ring opening pliers, only after taping them. This will make sure you do not leave scratches on the ring or hurt yourself.
- Do not hamper the earring as scratches may also ruin your jewelry or may cause infection.
5. How to Take Out Cartilage Earrings
- Hold the front of the earring with your thumb and forefinger. Grasp the back of the ring with your other thumb and index finger.
- Feel the back of the earring where it attaches to the post. You will find two tiny prongs inside the curved pieces on either side.
- Press these prongs toward each other using the fingernails of your thumb and forefinger. This will release the pressure holding the clasp in place.
- Now pull forward on the front of the earring and backward on the other side to remove the cartilage earrings safely.

Additional Tips
- Don’t remove your earrings if you believe your piercing is infected. or bleeding Removing the jewelry only aggravates the problems. See your professional piercer for advice.
- Do not change your earrings if the piercing is fresh and not healed, which usually takes at least 5-7 weeks with most piercings.
- Always wash your hands with soap before you try to open your earrings to prevent any bacterial infection.
- Clean your earlobes and stud/earrings once you take them off.
Expert’s Answer Your FAQ’s
Q. How to remove starter studs after first piercing?
A. Clean your ear lobe with hydrogen peroxide and, gently try to remove the starter stud. Hold the stud tight from one hand and pull the butterfly or flat back out from the index finger and thumb.
Q. How to unscrew barbells or earrings with balls?
A. Following the above instructions as mentioned in point no. 4, you can easily change your earrings without hurting them.
Q. Should I change my earrings if my piercing is bleeding or crusty?
A. If your ear piercing is bleeding or has pus or has developed a crust, it means blood cells are rising up to heal the area around the hole, so the hole has not quite healed yet. Taking them at that time may be painful.
Q. How to remove children’s earrings?
A. Your child’s ears are sensitive so wash your hands thoroughly with your hands with soap to prevent infecting your child’s piercings. Follow the above-mentioned steps to change their earrings. Be sure to be gentle and slow while removing them, to avoid any pain.
I’m Rhea, a fitness enthusiast, and a food lover. I am a housemaker, foodie, writer from NYC. I am a passionate writer and I love exploring places. Since I love cooking and working out, I am sharing my organic food recipes, fitness and beauty tips with the world. Trying to touch lives with some useful information.