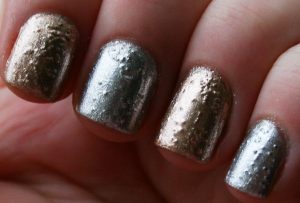
Nothing can be more annoying than those pesky little bubbles on your fresh home manicured nails. These unappealing bubbles can be caused by both old or new nail polishes.
However there are some simple hacks with which you can say goodbye to bubbles and eliminate them from your freshly painted nails completely.
You May Also Like: “How to Dry Nail Polish Faster.”
What Causes Bubbles in Nail Polish
Bubbles or small bumps appear on nail paint mostly as air gets stuck in your nail polish.
It can be result of moisture or oil in the nail polish, or even ambient moisture in the air.
If the polish you’re using is too old, thick or of poor quality or your nails are unclean can be some other reasons for the annoying bubbles.
Bubbling of the lacquer can be the bane of a DIY manicure for novices and pros alike.
Unfortunately, once bubbles appear on the polish there’s no quick fix. But you can surely avoid them from appearing on your nails.
Just make sure to follow the 7 steps and you’ll be on the road to smooth, professional-looking nails in no time.
How to Prevent Bubbles in Your Nail Polish: 7 Easy Ways
1. Clean Your Nails
Clean your nails using soapy water and a bristle brush and pat them dry completely.
Then dab your nails with a cotton ball in nail polish remover or acetone.
This little tip will help soak up any excess oil and create a clean and smooth base for your nail polish.
You May Also Like: “How to Whiten Nails at Home“
2. Turn Off the Fans and Open Windows
Make sure you turn off the fan and close the windows before you apply your nail polish to avoid the bubbles to form due to excess moisture in the air.
3. Apply a Base Coat
Putting a clear base coat is always recommended as there are little changes of bubbles growing on them.
Laying a proper foundation for your lacquer is a must when trying to avoid bubbles in your polish.
4. Avoid Thick or Old Nail Polish
While applying nail polish try to avoid using thick ones. The thicker the polish, the longer bubbles will take to surface.
If you don’t have a new polish and have to apply a coat, add a couple of drops of nail polish thinner or acetone to thin out thick polish.
Note: Avoid adding nail polish or acetone remover into the polish as it will make the polish chip off sooner.
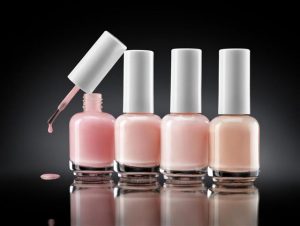
5. Roll Your Nail Polish Bottle (Do Not Shake)
Roll your nail polish bottle in between your palms instead of shaking it vertically. Shaking creates little bubbles that you can’t see… until they rise!
If you are mixing your colors to create a new shade, and need to shake the bottle, then wait about half an hour so all the bubbles can surface before you start your manicure.
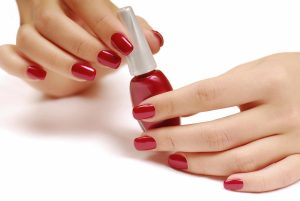
6. Lift the Brush as Little as Possible
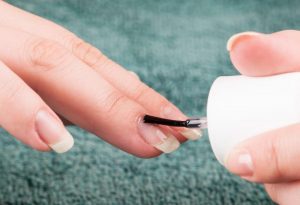
On your first coat, try doing long strokes for polishing your nails instead of short quick strokes with the brush.
Quick and short strokes might let your nail polish dry with some air, leaving bubbles on it.
7. Tighten the Cap on Your Polish
To stop your nail polish from bubbling always tightly screw the lids down of the polish bottle once you are done.
The longer the lid of the bottle is off, the more air gets in making the polish thick and a bubble trap!
Things to Keep in Mind
- Do your nails in a cool, dry place to avoid bubbling.
- Apply thin coats of polish for best results and bubble free finish.
- Let the first coat dry completely, before your apply the second or top coat.
Follow these simple tips, and you’ll never have to worry about getting bubbles in your nail polish.
However if you still find bubbles on your polish, that means it’s time to buy a new one!
I’m Rhea, a fitness enthusiast, and a food lover. I am a housemaker, foodie, writer from NYC. I am a passionate writer and I love exploring places. Since I love cooking and working out, I am sharing my organic food recipes, fitness and beauty tips with the world. Trying to touch lives with some useful information.

