Are you dressed to nail them all? The art of nail painting has evolved like never before with a myriad and array of colors, glitters, methods, blends, and designs. The latest in trend is ombré (gradient) nails where every nail becomes your canvass of expression.
You must be wondering what ombre nails are all about. Believe me, I too felt the same and had innumerable images running across my mind in the attempt to configure it out.
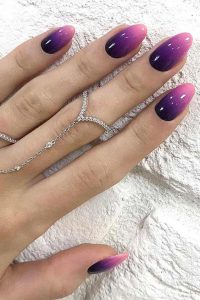
It is apparently a simple technique of painting your nails from cuticle to tips starting from light to darker (can be vice versa too) shades towards the tips.
The best thing about ombre nails is that it gives a girl or a woman a perfect manicure look for weddings, parties or dating without burning a hole in the pocket. You are spared the horror of long waiting periods of salons.
Prerequisites for Ombré Nails
- Clean nails with no trace of previously used nail color. It is best to clear out all remnants with a good nail polish remover.
- The shape of the nails should be good and filed properly whether it is long, short, square or oval.
Things Required for Ombré Nails
- A makeup sponge
- A base coat,
- two to three shades of nail paints, if they are shades of the same color, will be great to show the transience in the nail art.
- Remover
How to Make Ombré Nails: Step-by-Step Instructions
- Apply a clear base coat. Paint a thin, clear, base coat to all of your nails. A clear base coat protects your nails from getting stained by colored polishes and helps extend your manicure by decreasing the concern of chips in your nail polish.
- To help your nails dry faster, it’s better to paint two thin coats of polish rather than one, thick and heavy coat of polish.
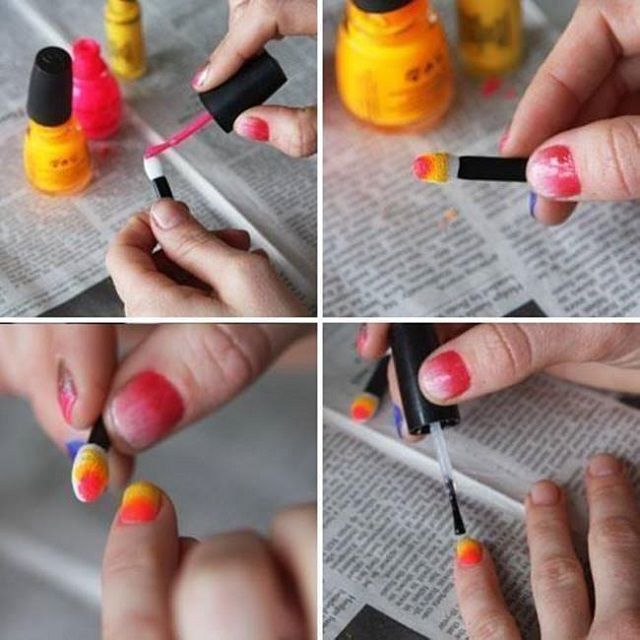
- Next, you need to take the sponge cut in the size of your nail in a square, rectangular or triangular shape.
- Apply the remaining shades of your nail paints horizontally keeping in mind that the sequence of shades should be from light to dark. The base is generally a pastel or nude color. You can also use transparent or translucent shades and play with innovative ideas.
- Now dab the sponge in a gentle manner from right to left. You can also roll it a few times. You will require a few more trials to create a perfect look.
- The smudge around the nail is to be cleaned by using a nail polish remover. If you apply glue or gel around the nails to avoid smudging, then use a brush to clean them.
- Use a fast drying top coat to seal in the colors.
- With such lovely nails at hand, don’t forget to wear your stiletto and venture forth to slay the show!

How to Do Ombré Nails Without Sponge
- If you are running short of a makeup sponge, then you can use an eyeshadow applicator in a similar manner.
- Don’t forget to flip the applicator midway and use the other side as well.
- Cotton balls, tissue paper or makeup brush can be used as well, though to a lesser effect.
- The process will remain the same as in the above-mentioned steps.
How to Paint Ombré Nails At Home (Video Tutorial)
Useful Tips for Painting Ombré Nails
- If you want to dry your nails faster, it’s better to paint two thin coats of polish instead of one, thick and heavy coat of polish.
- In order to keep the polish wet enough to stamp onto your nail, paint the sponge before starting with every nail.
- You can dip the sponge in water and wring out 80% of the water to keep the polish wet long enough and will prevent the sponge from absorbing too much of nail paints.
- Paint your thumb at the last as it can be serving multiple cleaning purposes.
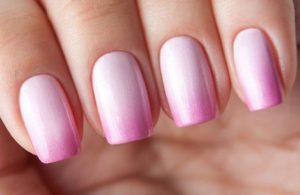
- Use a natural pink and white for a French ombre styling.
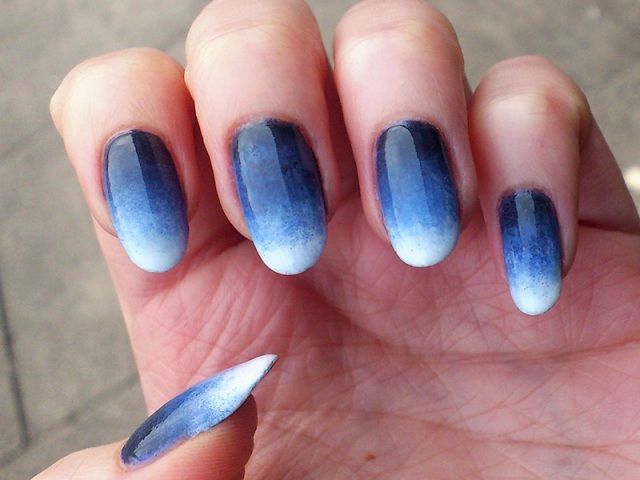
- White, sky blue and glitters make for a perfect summer beach splurge.
- You can also break the convention by painting your ombre vertically.
- Why restrict to two or three shades? If you have long nails, you cannot miss sherbet pastels with five shades!
- Sheer, shimmery, white blending with an icy blue gives you the perfect winter look.
For more such pretty ombre nail designs and ideas, read here to browse 100+ designs
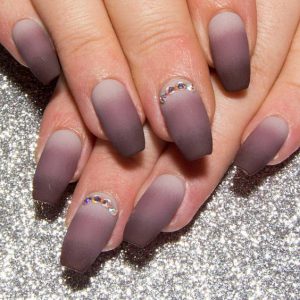
There is no limit to your imagination and hence the list will go on and on… Oops, I nearly forgot my favorite matte! Happy painting!